同时发布于 语雀
引子
最近公司在搭建部门的统一平台,我负责了统一登录前端的开发,因为要对接很多的系统,所以开发了统一登录的sdk,说是sdk其实就是一个组件库。以此为契机,外加之前开发其他的系统中也用了很多种不同的组件库(饿了没-ui/vant/antd/chakra-ui...),今天写一篇文章说说,什么样的组件设计是比较合理的,以及如何设计一个好用的组件。
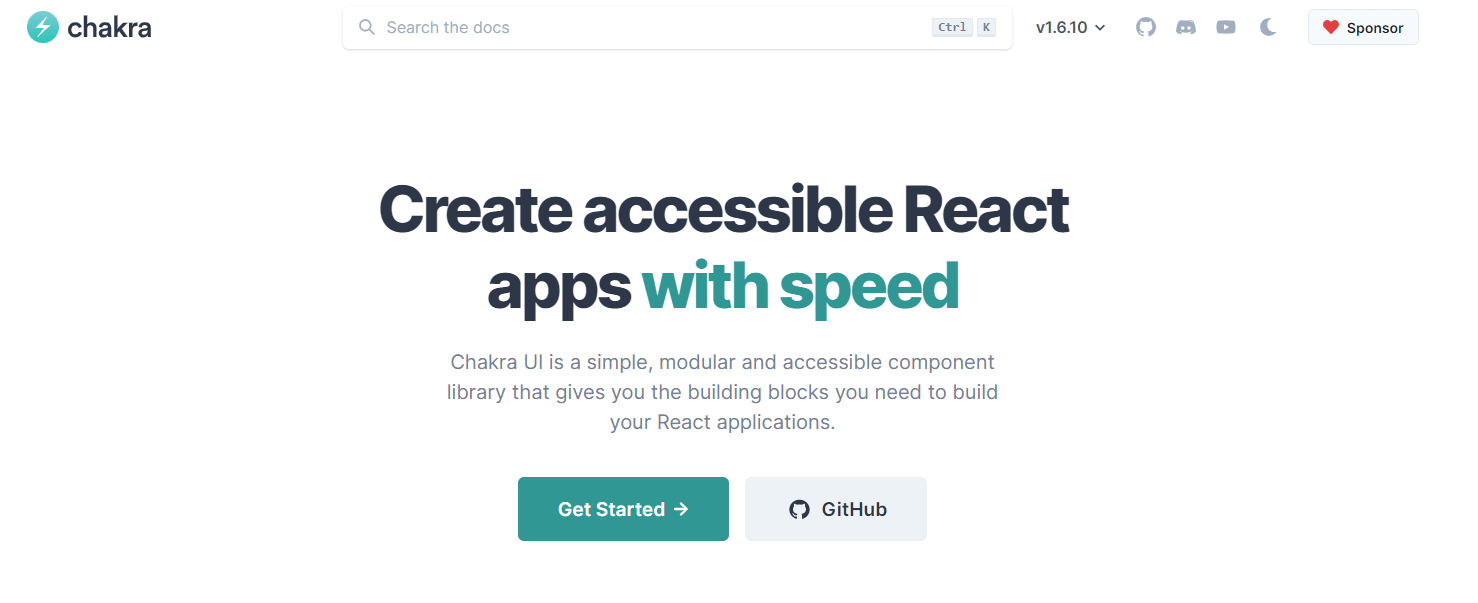
研究chakra-ui

比较来说我觉得设计比较有特色的一个组件库,就是 chakra-ui 了,不过国内使用的并不多,我也是在之前技术选型的时候偶然找到的,但是仔细读了她的文档之后我发现这个是一个很有特色的组件库,下面细说:
样式自定义
找到这个 chakra-ui 的时候,就是因为需要在使用 tailwind CSS 的同时使用一个组件库,chakra-ui 的一个特色就是使用了和 tailwind CSS 几乎相同的样式 api , 例如:
import { Box } from "@chakra-ui/react"

// m={2} refers to the value of `theme.space[2]`
<Box m={2}>Tomato</Box>

// You can also use custom values
<Box maxW="960px" mx="auto" />

// sets margin `8px` on all viewports and `16px` from the first breakpoint and up
<Box m={[2, 3]} />
这样只要你记住了 tailwind CSS 的api, 那么就可以很快的上手 chakra-ui 。 那么这个是怎么实现的呢? 一开始我以为是组件库使用了tailwind CSS ,但是看了源码发现,chakra 将 styled-components 进行了二次封装,而这种 tailwindLike 的 api 是进行了模拟导致的。 在 /packages/styled-system/config/ 里面 写入了不同样式以及缩写,以 background 为例:
export const background: Config = {
  background: t.colors("background"),
  ...
  bg: t.colors("background"),
  ...
}
这样实现的,可以说把dirty的工作封装了起来,展示出来的结果都是好用的。
组件组合
书接上文,组件里面做了很多的映射封装,为了减少代码量,统一进行管理,组件库进行了组件的组合(compose)。从一个基本的组件出发,通过默认一些样式,创造了一些新的组件。 例如 Square Circle 组件,是基于 Box 组件extend而来的。
export const Square = forwardRef<SquareProps, "div">((props, ref) => {
  const { size, centerContent = true, ...rest } = props

  const styles: SystemStyleObject = centerContent
    ? { display: "flex", alignItems: "center", justifyContent: "center" }
    : {}

  return (
    <Box
      ref={ref}
      boxSize={size}
      __css={{
        ...styles,
        flexShrink: 0,
        flexGrow: 0,
      }}
      {...rest}
    />
  )
})

if (__DEV__) {
  Square.displayName = "Square"
}

export const Circle = forwardRef<SquareProps, "div">((props, ref) => {
  const { size, ...rest } = props
  return <Square size={size} ref={ref} borderRadius="9999px" {...rest} />
})

if (__DEV__) {
  Circle.displayName = "Circle"
}
这样写减少了重复的代码并且可以保持更好的可维护性。我们在开发的过程中也可以借鉴这种模式,开发出最抽象的组件,从这个最抽象的父类出发来进行派生。
Theminig
chakra ui 的另外一个特点就是拥有一个高度自定义的主题系统, 使用的方式类似于 tailwind CSS 设置,也就是说你可同时将一个theme文件应用到两个库中,使用方法可以看一下chakra文档,那么这个主题是如何实现的呢?
首先 chakra ui 维护了一个default theme ,用于在没有自定义 theme 或者 自定义了一部分的theme的时候进行合并,合并的过程(toCSSVar)是使用了 createThemeVars 方法将自己配置的theme转化成css var变量,然后将默认的theme和生成的theme进行合并。最后在 :
export const ThemeProvider = (props: ThemeProviderProps) => {
  const { cssVarsRoot = ":host, :root", theme, children } = props
  const computedTheme = React.useMemo(() => toCSSVar(theme), [theme])
  return (
    <EmotionThemeProvider theme={computedTheme}>
      <Global styles={(theme: any) => ({ [cssVarsRoot]: theme.__cssVars })} />
      {children}
    </EmotionThemeProvider>
  )
}
这里是借用了 emotion 的 ThemeProvider。这么一看其实主题设置还是很简单的。这样可以很方便的设置了一个自定义的主题 除此之外,如果想在二次开发的主题上进行三次开发,可以使用 chakra-ui 提供的api Theme extensions。提供了一个类似于 HOC 的包裹函数,以withDefaultColorScheme为例:
export function withDefaultColorScheme({colorScheme,components}): ThemeExtension {
  return (theme) => {
    let names = Object.keys(theme.components || {})
		// ....
    return mergeThemeOverride(theme, {
      components: Object.fromEntries(
        names.map((componentName) => {
          const withColorScheme = {
            defaultProps: {
              colorScheme,
            },
          }
          return [componentName, withColorScheme]
        }),
      ),
    })
  }
}
将配置的颜色Scheme赋值给了配置的对应的组件。内部实现大同小异,都是调用了 mergeThemeOverride这个方法
export function mergeThemeOverride<BaseTheme extends ChakraTheme = ChakraTheme>(
  ...overrides: ThemeOverride<BaseTheme>[]
): ThemeOverride<BaseTheme> {
  return mergeWith({}, ...overrides, mergeThemeCustomizer)
}
内部使用了 lodash.mergewith的方法实现融合,对于此方法 chakra-ui 写了一个mergeThemeCustomizer 作为 lodash.mergwith 的第三个参数,这里的自定义mergeThemeCustomizer方法使用了递归的方式进行merge。
function mergeThemeCustomizer(
  source: unknown,
  override: unknown,
  key: string,
  object: any,
) {
  if (
    (isFunction(source) || isFunction(override)) &&
    Object.prototype.hasOwnProperty.call(object, key)
  ) {
    return (...args: unknown[]) => {
      const sourceValue = isFunction(source) ? source(...args) : source

      const overrideValue = isFunction(override) ? override(...args) : override

      return mergeWith({}, sourceValue, overrideValue, mergeThemeCustomizer)
    }
  }

  // fallback to default behaviour
  return undefined
}
外部组件与二次封装
从上面可以看到,组件库也不是全部从零开始,也使用了很多第三方的库,例如样式库 emotion, styled-components,工具方法库 lodash,这里没啥特别好说的。 另外chakra-ui官方也推荐将组件库和许多第三方的lib一起使用,例如 表单验证库formik,此外,在element-ui中也会直接封装throttle-debounce, async-validator等第三方的库。
提供escape
在使用其他的组件库的时候,很多情况下会出现某些组件的细节和设计要求不一致的情况,对于element-ui和ant design来说,由于使用了sass/less等预处理器,可以使用覆盖的方式来覆写样式。在 chakra ui 中,则提供了一个 sx Props 来直接向组件传入样式。
<Box sx={{ "--my-color": "#53c8c4" }}>
  <Heading color="var(--my-color)" size="lg">
    This uses CSS Custom Properties!
  </Heading>
</Box>
这个方式很强大,还支持嵌套样式,media query等。这里的sx是一个封装自@emotion/styled的方法,在 packages/system/src/system.ts, styled方法里面调用了 toCSSObject ,这里拿取到了输入的样式,而所有的ui 组件都会调用这个 styled方法,sx Props 就这样全局生效了。
export function styled<T extends As, P = {}>(
  component: T,
  options?: StyledOptions,
) {
  const { baseStyle, ...styledOptions } = options ?? {}
	// ...
  const styleObject = toCSSObject({ baseStyle })
  return _styled(
    component as React.ComponentType<any>,
    styledOptions,
  )(styleObject) as ChakraComponent<T, P>
}

export const toCSSObject: GetStyleObject = ({ baseStyle }) => (props) => {
  const { theme, css: cssProp, __css, sx, ...rest } = props
  const styleProps = objectFilter(rest, (_, prop) => isStyleProp(prop))
  const finalBaseStyle = runIfFn(baseStyle, props)
  const finalStyles = Object.assign({}, __css, finalBaseStyle, styleProps, sx)
  const computedCSS = css(finalStyles)(props.theme)
  return cssProp ? [computedCSS, cssProp] : computedCSS
}
如何设计一个好用的组件
参考了很多设计,那么如何设计一个好用的组件呢,这里以一个progressBar为例。
MVP 版本以及存在的问题
import React, { useState, useEffect } from "react";
import styled from "styled-components";

const ProgressBarWrapper = styled.div<{ progress: number }>`
	width: 100%;
	height: 4px;
	position: fixed;
	top: 0;
	left: 0;
	right: 0;
	z-index: 9999;
	.bar-used {
		background: #34c;
		width: ${({ progress }) => progress + "%"};
		height: 100%;
		border-radius: 0 2px 2px 0;
	}
`;

const ProgressBar = () => {
	const [progress, setProgress] = useState(0);
	useEffect(() => {
		window.addEventListener("scroll", () => {
			setProgress(
				(document.documentElement.scrollTop /
					(document.body.scrollHeight - window.innerHeight)) *
					100
			);
		});
		return () => {
			window.removeEventListener("scroll", () => {});
		};
	});
	return (
		<ProgressBarWrapper progress={progress}>
			<div className='bar-used'></div>
		</ProgressBarWrapper>
	);
};

export { ProgressBar };
这里展示了一个页面顶部进度条的组件,类似于 es6标准入门 这里的样式,上面的功能可以很快的就实现出来,但是只是比较符合单一的应用场景,进度条固定在顶部,只有从左往右增长一种情况。但是实际上的进度条可能会用到很多的地方,因此我们需要对照可能的场景以及代码中的变量进行判断,哪些是需要做成参数,并设置对应的默认值。 需求有以下几种:
- 颜色可调,位置可调,方向可调,这三个是比较全局的可调整类型
- 具体样式修改,高度修改,圆角修改,这些是其他的一些props,如果保持progressbar的功能不变可能不太会用到的props
此外,这里的progeressBar还存在的一个问题就是,这个组件将展示和逻辑杂糅在了一起,组件内部就有对于页面滚动进度的计算逻辑(useEffect),但是如果使用的时候不需要这个逻辑呢? 根据上面的一些要修改的点以及一些问题,我们来对这个组件进行拆分和重构。
重构
首先是把逻辑和展示分开。新建一个hook用于计算百分比。
import { useState, useEffect } from "react";

export function useProgress() {
	const [progress, setProgress] = useState(0);
	useEffect(() => {
		window.addEventListener("scroll", () => {
			setProgress(
				(document.documentElement.scrollTop /
					(document.body.scrollHeight - window.innerHeight)) *
					100
			);
		});
		return () => {
			window.removeEventListener("scroll", () => {});
		};
	});
	return progress;
}
之后是给需要的参数添加props,并设置默认值,这里只以高度为例,设置一个可选的高度参数,当传入的时候就使用传入的值否则是默认的。 同时注意颜色等可以使用一个theme系统。
const ProgressBarWrapper = styled.div<{ progress: number; height?: string }>`
	width: 100%;
	height: ${({ height }) => (height ? height : "4px")};
	.bar-used {
		background: ${({ theme }) => theme.themeColor};
		width: ${({ progress }) => progress + "%"};
		height: 100%;
		border-radius: ${({ height }) =>
			height ? `0 calc( ${height}/ 2) calc(${height}/ 2) 0` : "0 2px 2px 0"};
	}
`;
除此之外,将fixed布局抽象出来,方便后面进行组合
const FixedTopWrapper = styled.div`
	position: fixed;
	top: 0;
	left: 0;
	right: 0;
	z-index: 9999;
`;
// 组合之后就是这样的
const ProgressBarWrapperFixed = styled(FixedTopWrapper)<{
	progress: number;
	height?: string;
}>`.....`;
这样组件就是这样的,分成了默认好用的 ProgressBar 和 自定义功能更多的 SimpleProgressBar
interface ProgressProps {
	progress: number;
	height?: string;
}
const ProgressBar = ({
	height,
}: Omit<ProgressProps, "progress">) => {
	const progress = useProgress();
	return (
		<ProgressBarWrapperFixed progress={progress} height={height}>
			<div className='bar-used'></div>
		</ProgressBarWrapperFixed>
	);
};

const SimpleProgressBar = ({
	progress,
	height,
}: ProgressProps) => {
	return (
		<ProgressBarWrapper progress={progress} height={height}>
			<div className='bar-used'></div>
		</ProgressBarWrapper>
	);
};
另外就是添加 合适的 escape,方便使用的时候如果不符合需要可以自行修改。这里直接在组件上添加一个 style参数,
// usage
<ProgressBar style={{ background: "#000" }}></ProgressBar>
// 修改组件 添加rest参数接受附加的style,并且修改一下类型
const ProgressBar = ({
	height,
	...rest
}: Omit<ProgressProps, "progress"> & React.HTMLAttributes<HTMLDivElement>) => {
	const progress = useProgress();
	return (
		<ProgressBarWrapperFixed {...rest} progress={progress} height={height}>
			<div className='bar-used'></div>
		</ProgressBarWrapperFixed>
	);
};
这样就写好了一个好用的ProgressBar组件了,并且提供了SimpleProgressBar用于其他的自定义用途。
在线演示:https://codepen.io/alfxjx/pen/ZEJyygo?editors=0010
总结
经过上面对 chakra ui 组件库源码的研究以及一个示例,相信你以及知道了该如何设计一个好用的组件库了,希望你能为你的公司也开发一套组件库,能更好的完成你的kpi/okr/etc...
